Are you a teacher who loves to teach writing, or do you hate it? I find that most teachers fall into one of these two categories. There doesn't seem to be a lot of "middle road" when it comes to teaching writing. I think the teachers that "hate it" tend to lean that way because there is no curriculum or "guide" to follow for this subject. I'm not sure why, but I have always LOVED to teach writing.
I follow the Writer's Workshop approach, and don't think I could ever change. I love it THAT much! Here's what a typical day looks like in my classroom:
10 minute mini-lesson
25-30 minutes of student writing (10-15 minutes of applying the skill from the mini-lesson and then free choice writing after that)
5-10 minutes of Author's Chair sharing
I think children thrive in this model because there is such a routine....and organization. Each student has a writing folder (or notebook) that helps them understand the stages of the writing process. The post below will give you a glimpse of how I set these up and use them with my students.
The first thing to understand is that I use a color-coded approach to helping the students visualize the different stages of writing.
Pink - Prewriting
Blue - Drafting
Green - Revising
Red - Editing
Purple - Publishing
Orange - Sharing
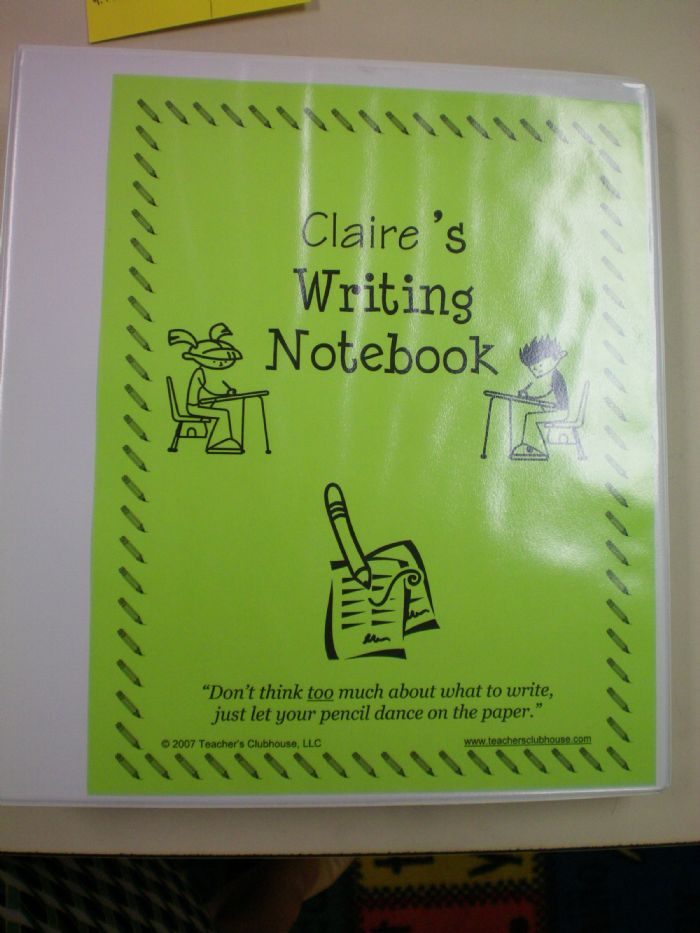
These colors are used in our Writer's Notebooks. Well, I have actually altered these notebooks (as of last year) and use folders now, but the concept is the same.
So, you can either use binders.
or folders
The advantage of using binders is that they hold a LOT more and students can move their writing easily through the various stages. Here's a look at how my binders were set up.
In the front of the binder I put a pencil pouch to hold our writing pens - a blue (for drafting), a red (for editing) and a green (for revising).
Next, I put a one-subject spiral notebook that holds our first drafts. Using the notebook ensures that our first drafts stay in order so that we can see our writing progress throughout the year. It also keeps them organized and neat. Students use their blue pens to write their first drafts. They skip lines as they do this so that they will have room to revise and edit their writing if they choose to publish it.
Behind the notebook is a list of genre ideas for students to write and also starter prompts for those times when students are stuck on ideas to write about.
Behind the prewriting sheet is a sample of graphic organizers. These help students remember the importance of brainstorming and organizing their thoughts before beginning the first draft. After this prewriting, students will be ready to begin their first draft. All prewriting and first drafts are written using a blue pen. If writing workshop ends while students are in prewriting or first draft stages, their work is left in the blue first draft notebook.
Once first drafts are completed, students move on to a new first draft, or if they have five drafts, they may choose to take one of their drafts through the publishing process. Students keep track of the stories they've written on a story record log kept in the back of the notebook.
If a student chooses to publish a story, he/she tears the story from the notebook and begins to revise the writing. The revising checklist is kept in a clear sleeve in the writer's notebook. Students use a green pen to revise.
After revising their work, students' writing should be more interesting. If writing workshop ends while students are in the revision stage, their work goes into the green revise pocket. After revising their work, students are ready to edit the piece for mistakes. An editor's checklist is copied on cardstock for durability. Editing rules are given to students as they are taught throughout the year. This method also allows for differentiation, since I can provide students with rules that I notice they're ready for during conferencing. Once an editing rule is glued onto the checklist, students date and number the rule. From that date on, the student is responsible for making these corrections independently in his/her writing. Students use a red pen when editing.
After
editing their work, students' writing should be written correctly and free of major mistakes. If writing workshop ends while students are in the
editing stage, their work is placed in the
red edit pocket.
After students have
edited their own work, they sometimes have it
peer-edited by a classmate. The teacher is constantly conferencing with students about all of the stages during writing workshop, but I no longer edit all of their pieces for perfection. I feel it is extremely important for STUDENTS to do the revising/editing. I do not want their portfolios to show perfect pieces at the end of the year, I want them to show students' abilities and their growth of the writing process.
Finally, students are ready to
publish their work. Students may choose to
publish in a variety of ways. All final drafts are written in
pencil. This allows students to fix any mistakes so that the final pieces are as error-free as possible. The most popular form of
publishing is student-made books or typed pieces. If writing workshop ends while students are in the
publishing stage their work is placed in the purple
publish pocket of the writing notebook.
Students also have an
orange pocket in their notebooks. This pocket holds any references or resources students may have to use during writing workshop time. These may include dictionaries, templates (how to write a friendly letter), thesauruses, etc.
Now, I LOVED these binders. I mean LOVED. I made one class set and reused them for many years. The colored pockets were simply pocket folders that I cut in half. This means I could get two pockets from each folder. I would simply use packing tape to close the cut side and then punched holes in them! But, since I use tables in my classroom storage was a bit of an issue. I wanted students to have easy access to their writing to work on throughout the day as work was finished up. So, I switched to folders a couple of years ago.
The plus for folders is that they don't take up much space and are easy to store. The down side is that there's not enough space to hold all of the colored folders, so students don't get to actually MOVE their work through the writing stages. Here's how my folders look...
I use poly-folders for durability and place a half-sheet label to the front.
I place notebook paper in the folder for students to write on. You will notice there is not room for the pencil pouch, so students just keep their colored-writing pens in their crayon pouch at their table, but they know that these are only to be used during writing time. ;)
Students still have their red writing checklist. I LOVE this checklist since I can pass out the rules once they're taught and it makes students accountable. The numbers are important because as students edit their work, they prove it to me by writing the numbers of the rules they've completed at the tops of their papers.
Students also still have the green revising checklist in their folders. This works the same way as the editing checklist. I love being able to pass these out as they're taught (or as each student is ready for them).
Resources are stored in the back pocket. My favorite resource to use with them is the "Trashcan Thesaurus." This is used when students overuse words and we decided to throw them away.
Since I'll be using a desktop thesaurus on my
mini-offices this year, I plan to use these as more of an individualized resource.
I hope that explains my writing notebooks a bit! If you're interested in these for your classroom, I compiled all of the resources I used and made a packet that would fit grades 1-5. Click the image below to read more about it!
I've also recently added a Young Author's Publishing Pack that has absolutely everything I use to have students publish their own books in our classroom and share them with audiences. Talk about PROUD kiddos!
I'll be blogging again here next week to share some more about writing in my classroom. If you have any questions or suggestions for the post, leave them here and I'll be happy to answer them then!
If you'd like to read more from my Writing Workshop Series, click below to head on over to my blog.


